Administration
This section describes administration options available in the RSD.
To be able to log in as an RSD administrator, you first need to grant an existing user admin privileges in the database. See Log in as rsd administrator in the getting started section.
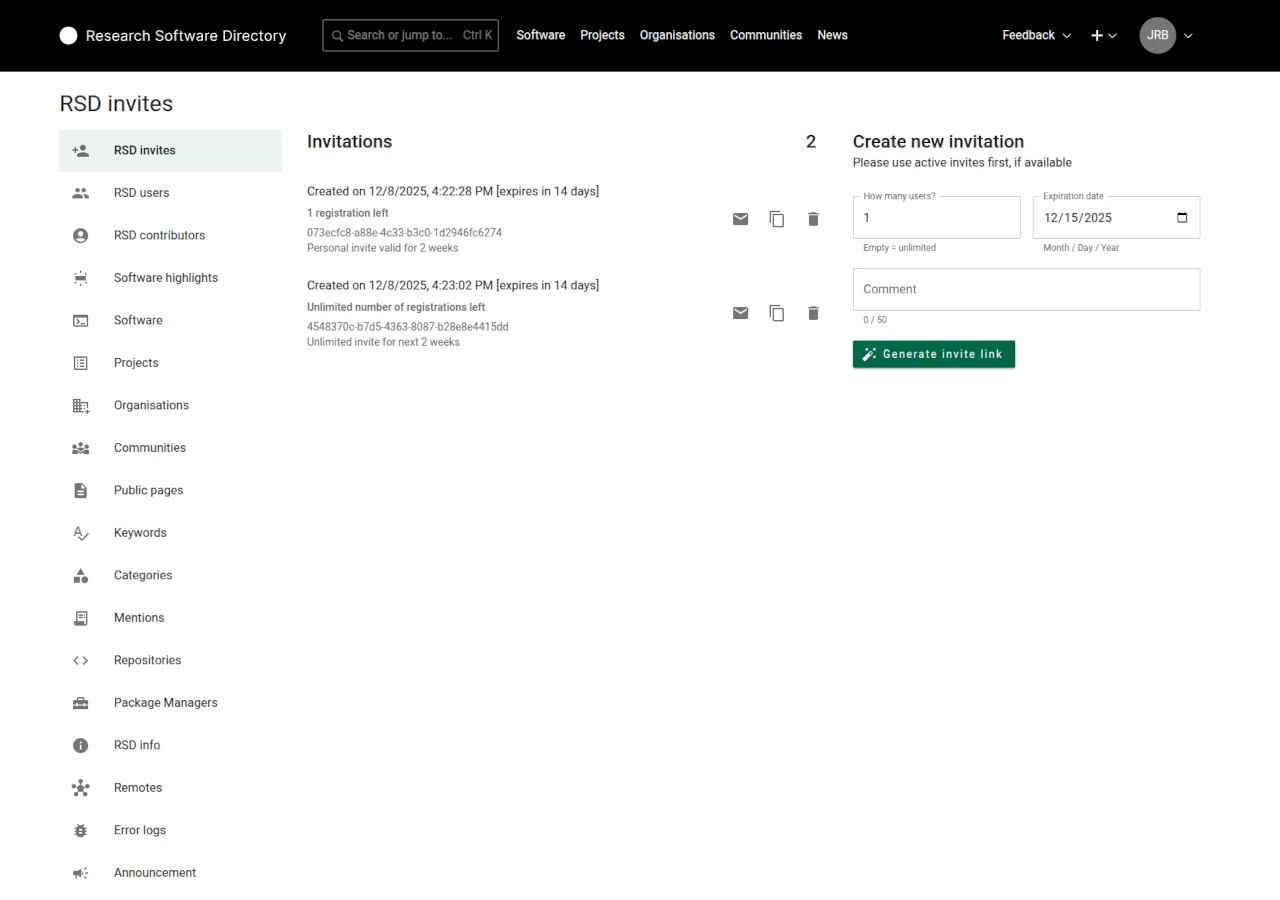
RSD invites
Here, you can create, view and delete RSD invites. These invites allow users to create an account when using auth providers that require them.
An invite can be configured to have a fixed amount of uses, or to have unlimited uses (by leaving the "How many users" field empty). Existing invites can also be deleted, rendering them useless, which is useful when an invite has leaked out.
Each invite also has an expiration date, after which the invite cannot be used any more.
We recommend to use short-lived, single-use invites whenever possible, as these cause the least damage when leaked out.
RSD users
This section shows all RSD users who logged in to RSD at least once. You can search for users, assign the administrator role (rsd_admin) or delete user accounts.
It is also possible to lock (and unlock) accounts by clicking on the lock symbol. You can provide a reason that the user can see and a reason that only admins can see. Locked accounts cannot use the API with their access tokens and will get an error message when they try to sign in.
- Removing account will remove all its maintainer roles.
- You cannot delete account you are currently using.
RSD contributors
The page shows the list of all contributors and team members. You can search by name, email or ORCID. You can change the values in the table by clicking on the value. The values are automatically saved after you navigate out of the edit box. The link in the last column will open the software or project item where this contributor/team member is used.

Software highlights
The software overview page design has a highlights section. This section is shown only when software highlights are set by an RSD admin.
In addition to the carousel, which is shown on the software overview page, but is not suitable for showing a large number of items, we offer a separate "All Highlights" page. This page can be accessed using the "Browse all Highlights" button, shown underneath the carousel.
You can customise the software highlights section in the settings.json by changing the values in the optional property software_highlights.
titlevalue is shown in the admin section, as carousel title and as a title of all highlights page.limitdefines a maximum number of items to include in the carousel.descriptionis used on the all highlights page.
{
  "host": {
    "software_highlights": {
      "title": "Software Highlights",
      "limit": 5,
      "description": "Descriptive text below page headline."
    }
  }
}
Software
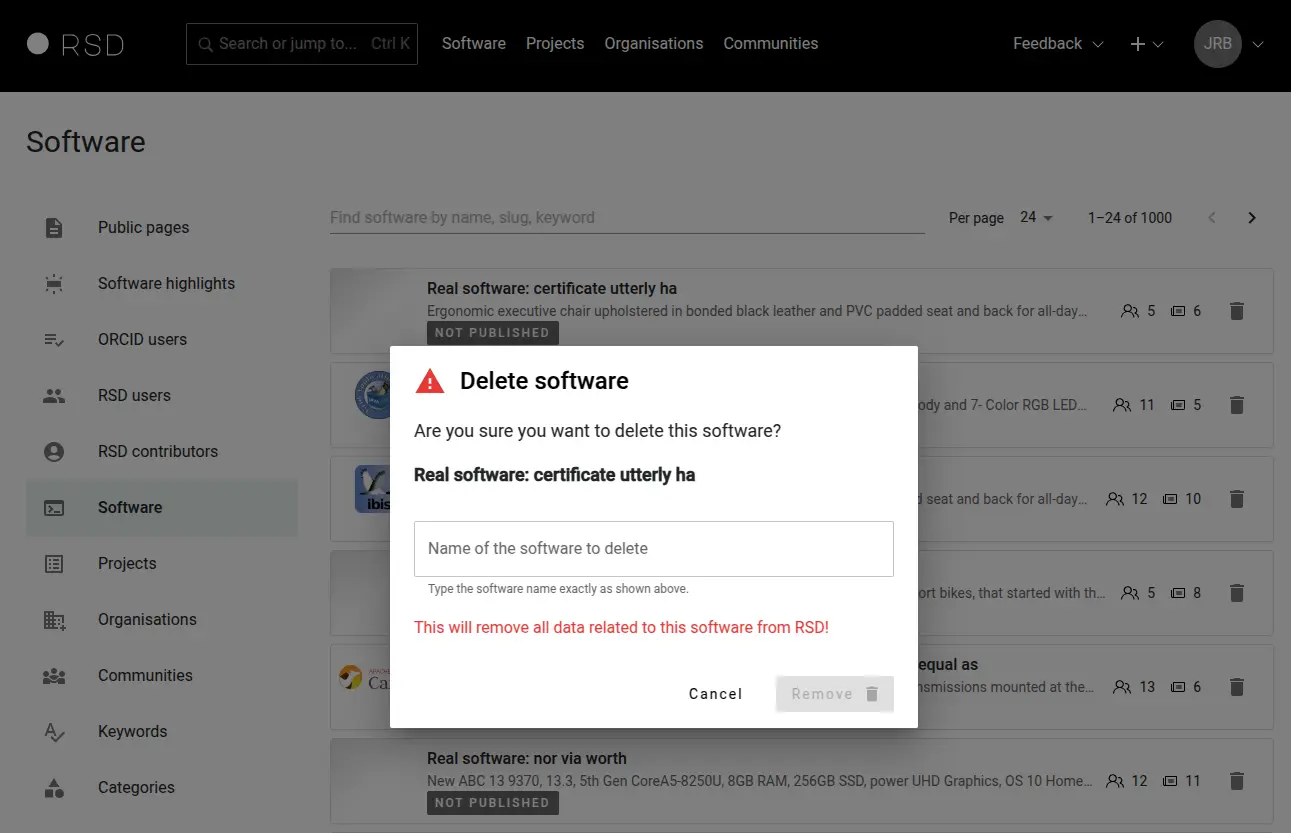
The page shows list of all software entries, unpublished first. You can search by title or short description. From this overview, you have the option to remove a software entry from the RSD completely, including all related data. In order to prevent accidental deletion, you need to type the software name in the delete modal.
The software entry and all related information will be removed from the RSD.
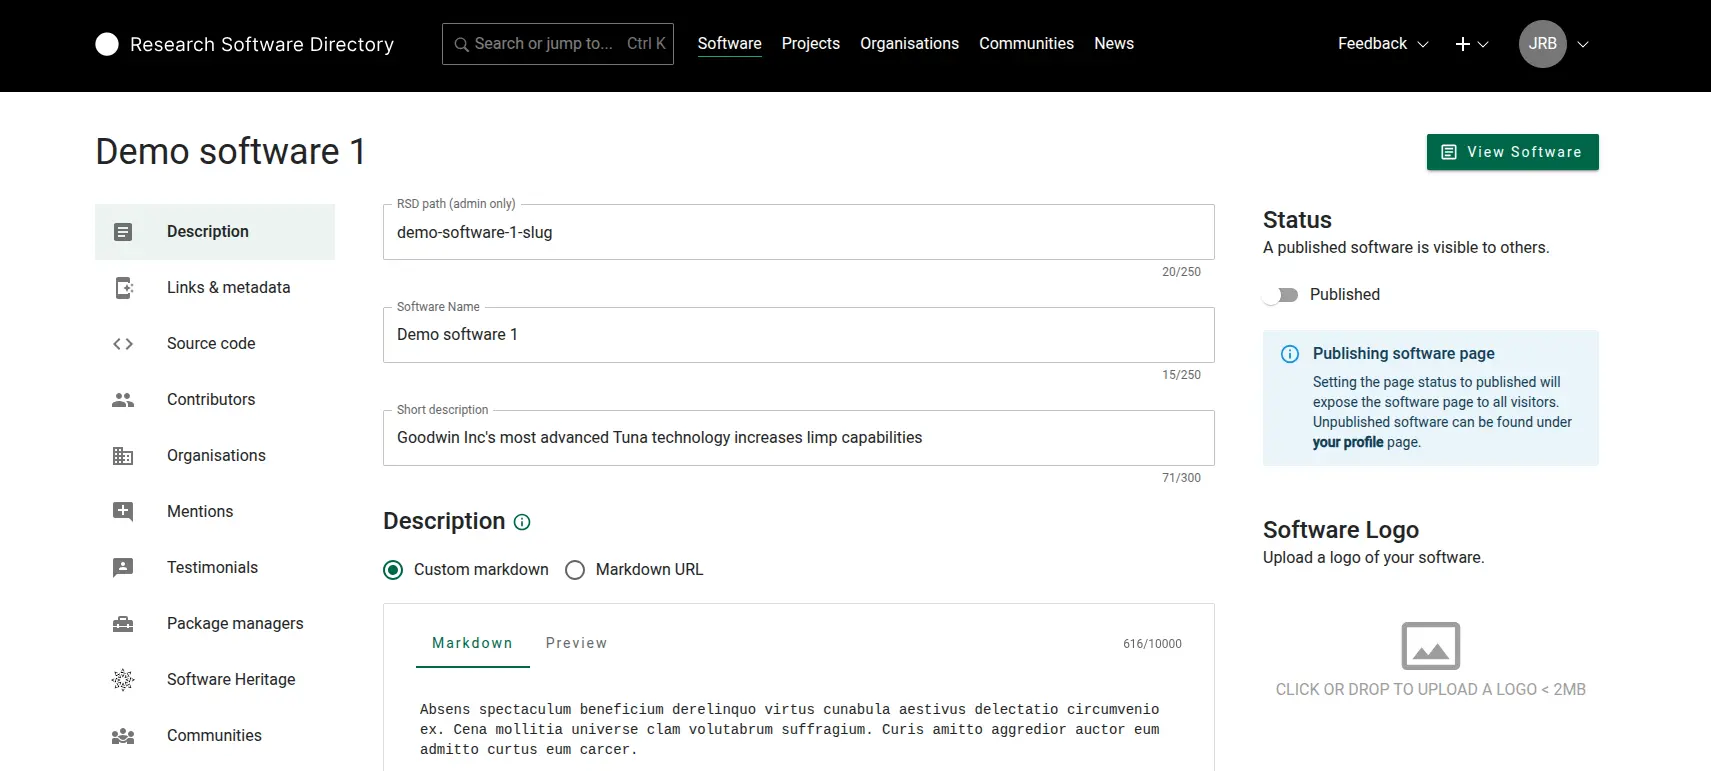
Software Slug
When editing a software page, the slug of the page (called RSD path) can be changed by admins under the Description tab.
Projects
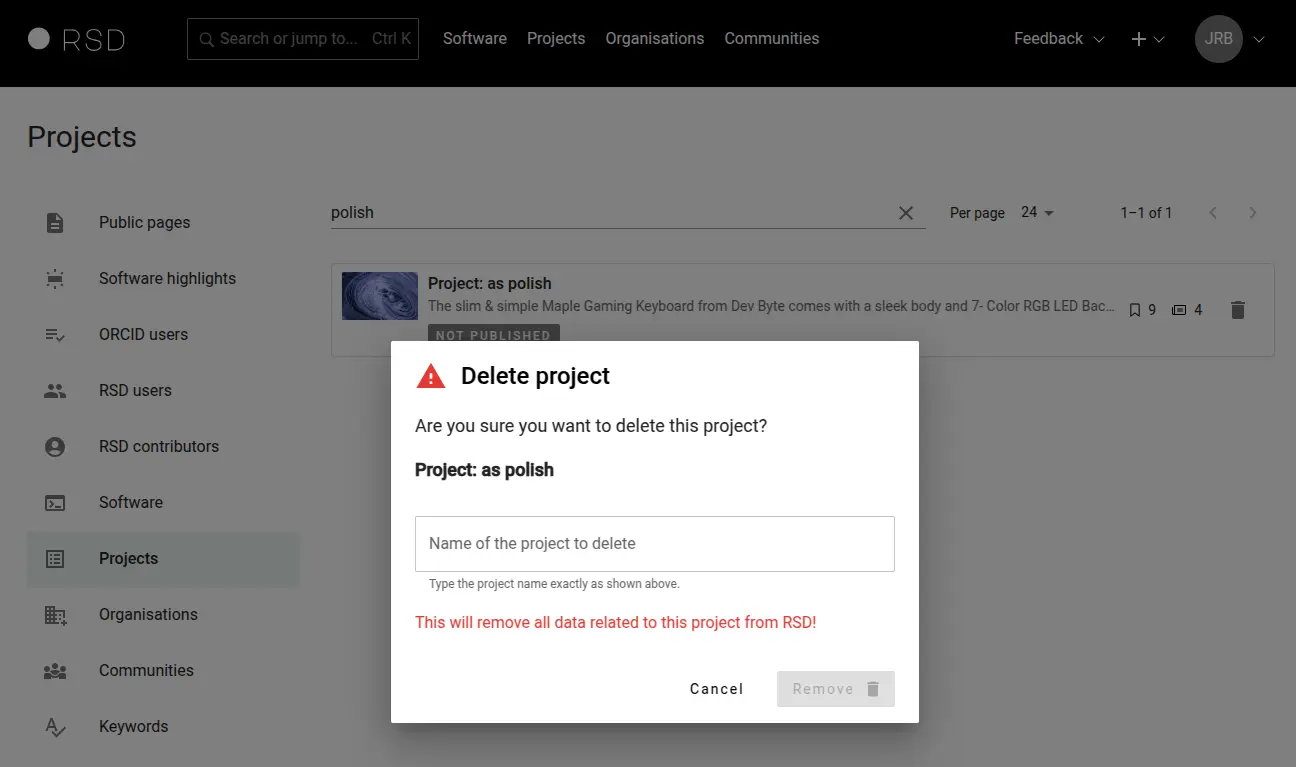
The page shows list of all project entries, unpublished first. You can search by title or short description. From this overview, you have the option to remove a project entry from the RSD completely, including all related data. In order to prevent accidental deletion, you need to type project title in the delete modal.
The project entry and all related information will be removed from the RSD.
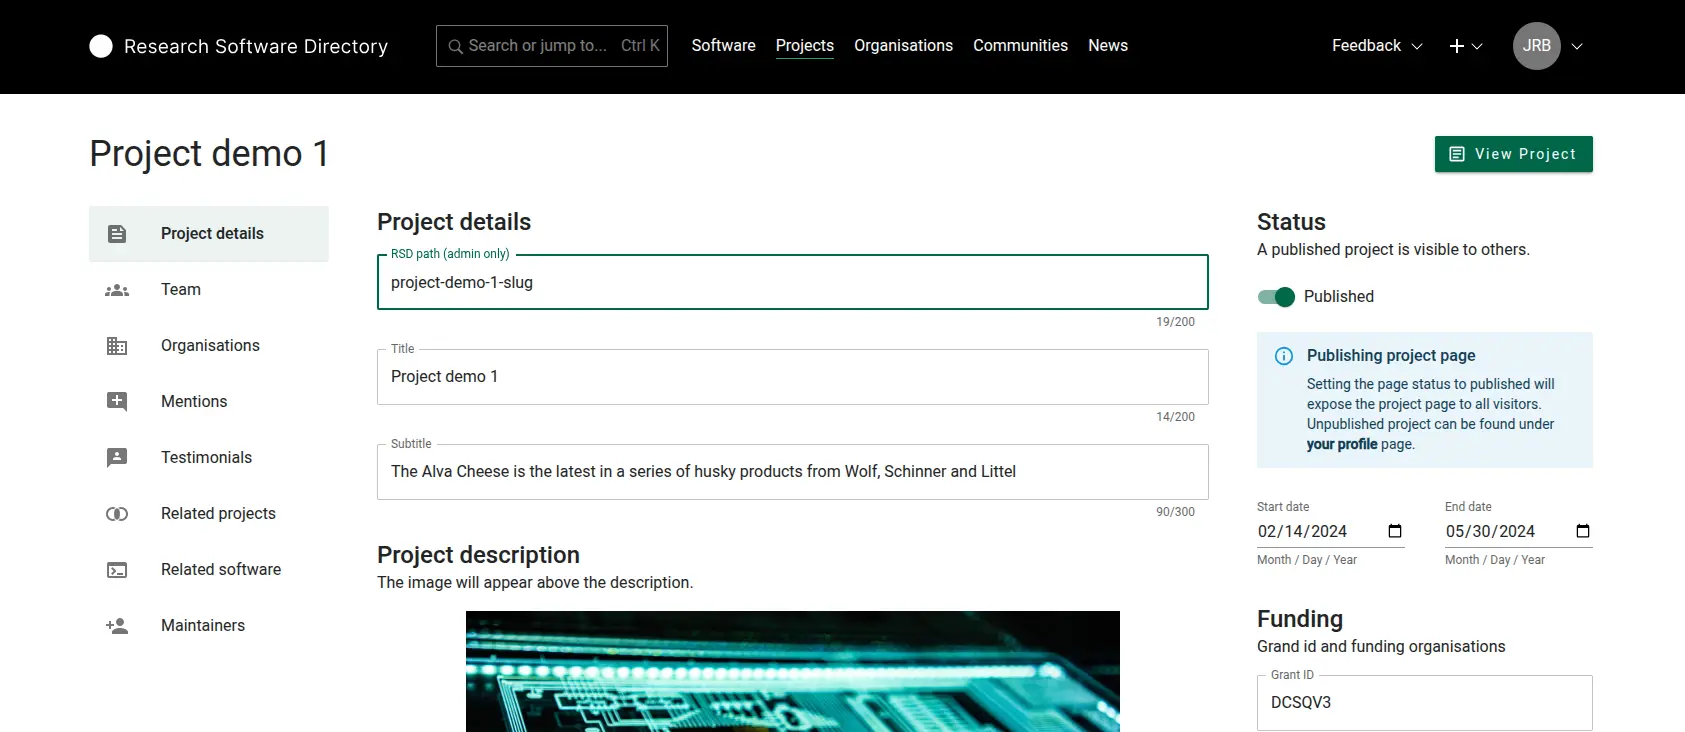
Project Slug
When editing a project page, the slug of the page (called RSD path) can be changed by admins under the Project details tab.
Organisations
This page allows management of all organisations added to RSD. RSD users can add new organisation on the software or project pages. We use ROR database to retrieve additional information about the organisation.
Add organisation
Use the search box to find organisations in the ROR database. This is the preferred approach. If the organisation cannot be found in ROR database, you will see the "Add..." option, and you will be able to add basic organisation information manually.

Define organisation primary maintainer
The primary maintainer of an organisation is defined by an RSD administrator. You need to provide the user ID in the general settings section. The user ID is unique, and it is automatically created by RSD after a user is logged in for the first time.
Only the organisation's primary maintainer or RSD administrator can create research units of an organisation.
Delete organisation
To delete organisation use delete button.
The organisation will be permanently removed, including all its references in software and project pages.
Edit organisation
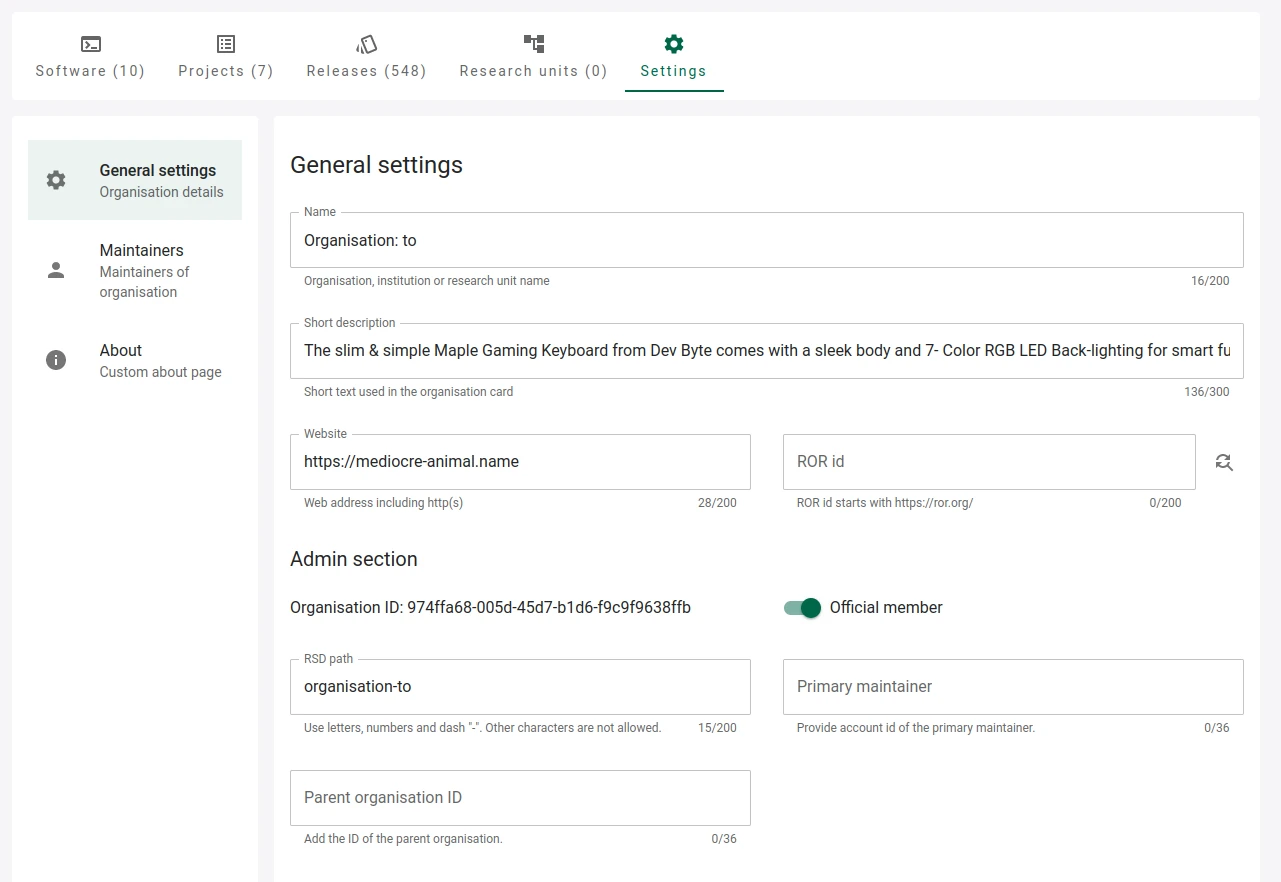
Administrators can edit all properties of an organisation that organisation maintainers can edit, for these settings please navigate to maintaining the organisation section.
Additionally to organisation maintainers, administrators can edit the following properties of an organisation:
- Official member: whether the organisation is an official organisation.
- RSD path: the
<PATH>under which the organisation is accessible in the RSD (/organisations/<PATH>). - Primary maintainer: primary maintainer of an organisation.
- Parent organisation: if the organisation belongs to another organisation, add the ID of the parent organisation here. The organisation ID is displayed in the Admin section of the respective organisation.
Note that changing the parent organisation will also affect the path under which the organisation is accessible. The path is determined by the organisation hierarchy, e.g. /organisations/parent-organisation/child-organisation.
The settings are visible in the Admin section under the General settings tab of the organisation settings:
Communities
Administrators can create and edit all properties of the community. The communities enable grouping of software entries by specific functionality or research discipline. One software entry can be part of multiple communities.
Only RSD administrators can create communities.
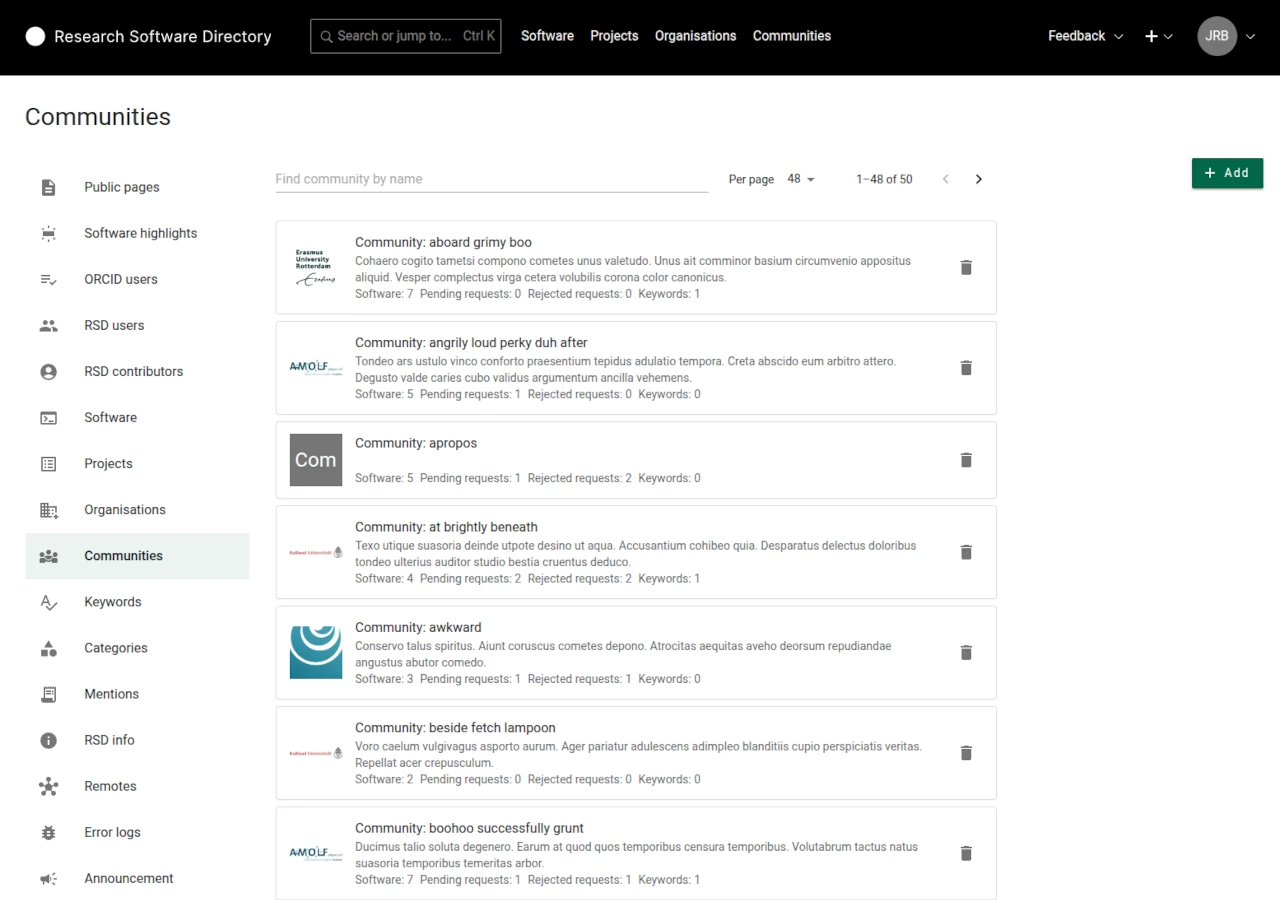
Add community
To create a new community, use the "Add" button. Provide a name, short description and logo in the modal.
Edit community
To edit the community settings, click on the community and you will be forwarded to the community settings page.
Delete community
Use the "delete" button to delete a community.
The community will be permanently removed, including all its references in software items.
Public pages
Here you can define custom public pages for you RSD instance. The links to custom public pages are shown in the footer of the RSD.
- The title is used as link label
- The slug is used as link
- The content of the page is in Markdown
- The page position can be changed using drag-drop handle (see animation below)
You need to activate "Publish" switch and reload the page in order to see changes in the page footer.
Keywords
RSD comes with a predefined list of keywords. You can change the list by adding new keywords or deleting the existing entries.
You can delete the keyword only when it is not used in any software or project.
Categories
Software could be classified by assigning one or more categories. Categories are organised in a hierarchical structure (tree).
The following terms are used: A category is a leaf in the category tree. A parent category is a tree node with sub-categories. A top-level category is a tree node with no parent. A list of categories nodes traversing the category tree from a top-level category down to a category is the category path of this category.
Global categories can be managed from the admin page. One can also add categories directly in the database; to get an idea how to populate the categories table using SQL statements, see database/999-add-categories.sql.example.
Categories of different levels could have different properties. The column properties holds a JSON object to flexibly define properties of a category:
icon: optional; see also issue #975. Icons are shown to the end user.is_highlight: set totrueto define a highlighted top-level category. These categories are displayed in a separate block on the software page and in a tabular view. Withtree_level_lables: string[]you could add column headers to this table. For the software maintainer the category headline could have an optionalsubtitleand an optionaldescriptiontext will be shown on the right side in the help box.
For supporting category terms from controlled vocabularies (semantic web)
fill the provenance_iri column. Further read Linked Data and SKOS.
Mentions
In this section, admins can search for mentions, edit them and delete them. You an also see where the mention is used. If you enter a DOI or UUID, we search on that field only. Otherwise, we search on title, authors, journal, URL, note and OpenAlex ID.
When deleting a mention, a modal will appear to confirm that you really want to delete that mention.
Edit mentions with care: they might be referenced to in multiple places. If you want to fully change a mention attached to e.g. a software page, you should delete it there and create a new one instead of editing it.
When deleting a mention, all references to the mention will be deleted. Make sure to check the usages of the mention before deleting it.
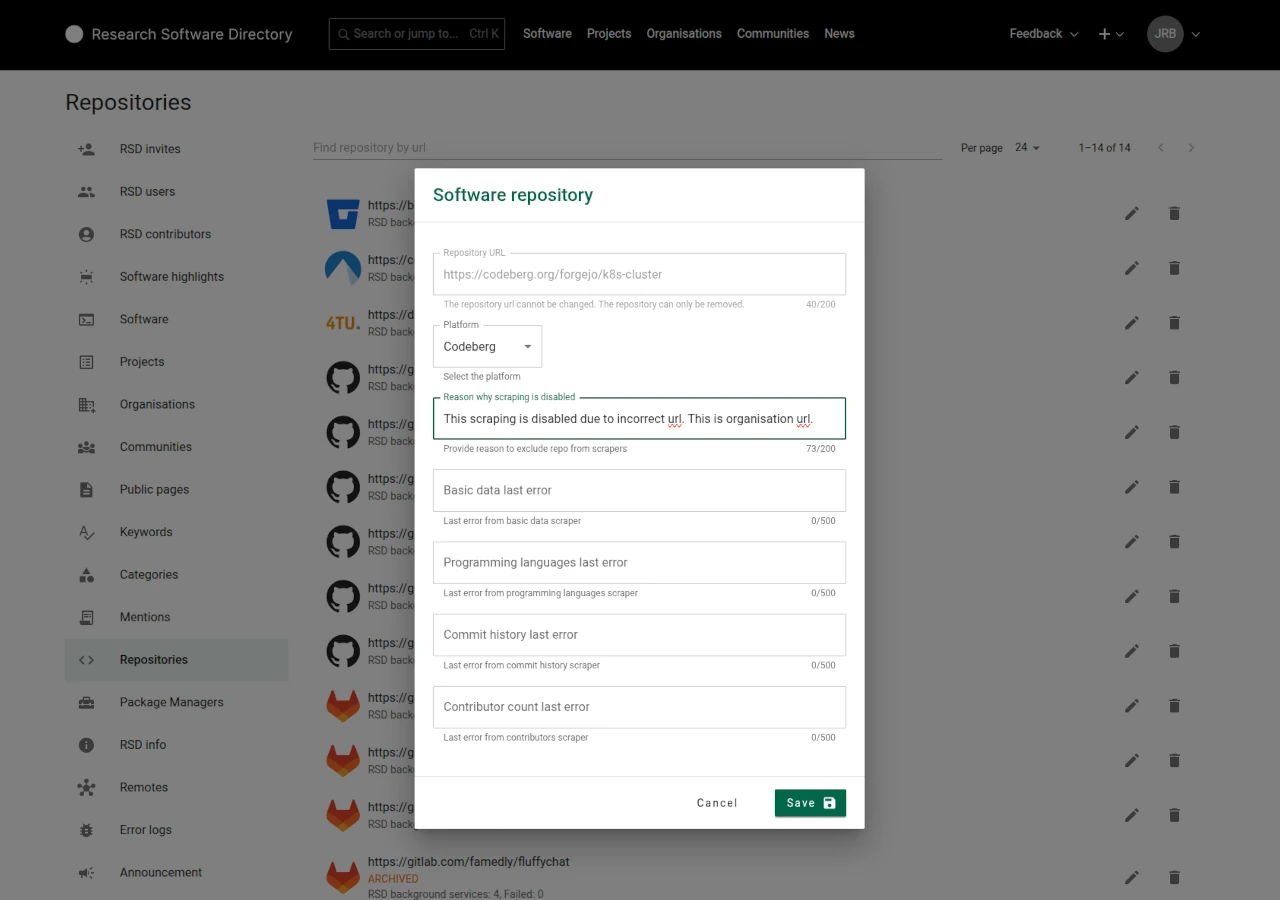
Repositories
In this section admins can manage software repository entries. The background services use repository URL and the platform information to "scrape" additional information about the software. When background service fails it logs the error. The error message is shown to software maintainers. However the background services will continue trying to retrieve additional information from the platform API.
The admins can exclude/disable background services for the specific repository by providing the reason for exclusion. The reason is shown to maintainers of the software. In short, if the 'Reason why scraping is disabled' has an value the repository will be excluded from background services.
Deleting the repository entry will remove it from all software entries including all scraped statistics like star count, programming languages etc.
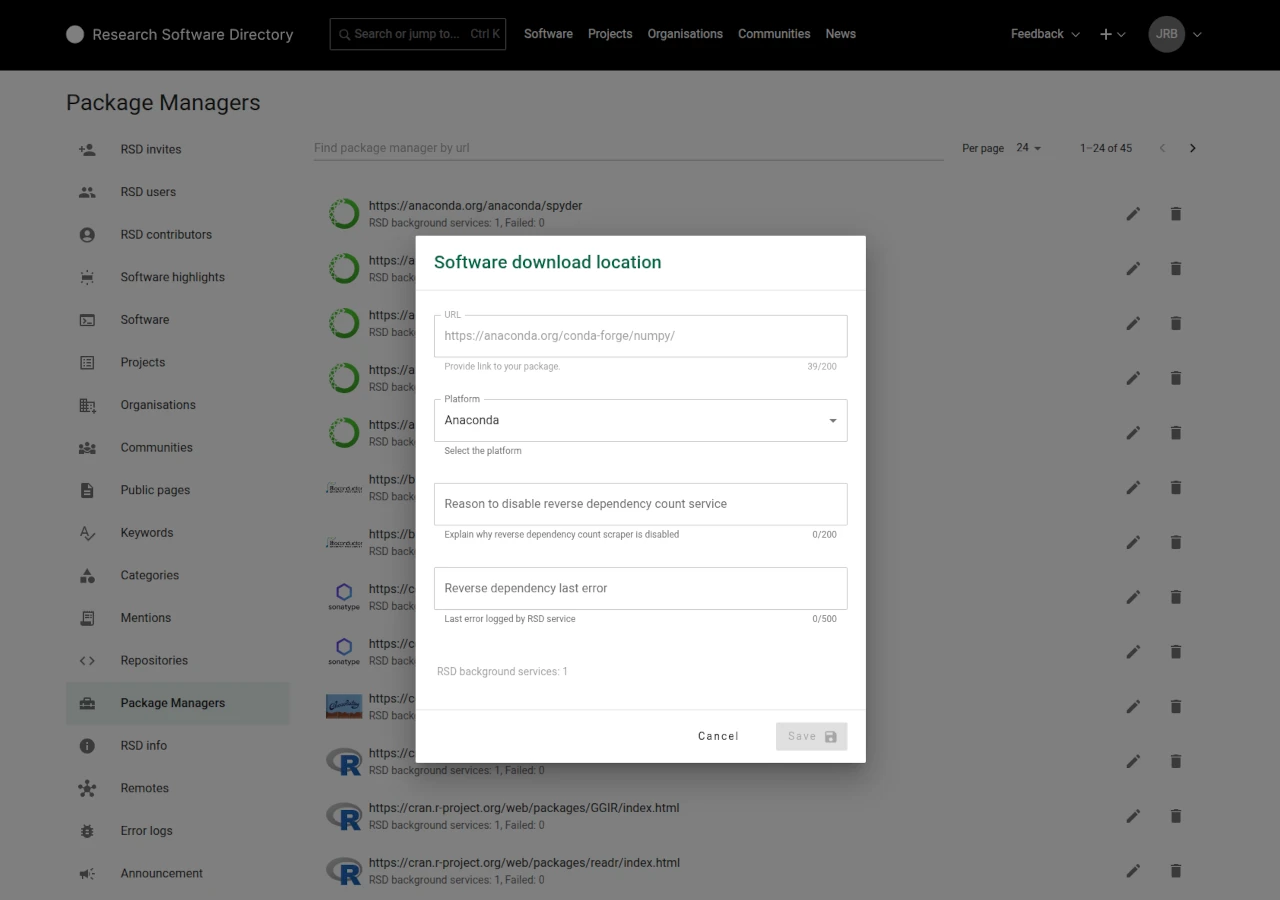
Package Managers
Similar to repositories this section shows all package managers entries in the RSD. The background services try to extract additional information from the URL the maintainers added to their software.
Admin can disable background services for specific package manager entry by providing the explanation / reason in the 'Reason to disable [service name]' input. This reason will be shown to software maintainers.
The package manager entries are currently not normalised in the RSD, so there could be multiple entries of the same package manager URL in the RSD.
If you need to disable background services for specific URL you should first search for all entries and change them all in the same way. In the future we expect to "normalise" package manager URL.
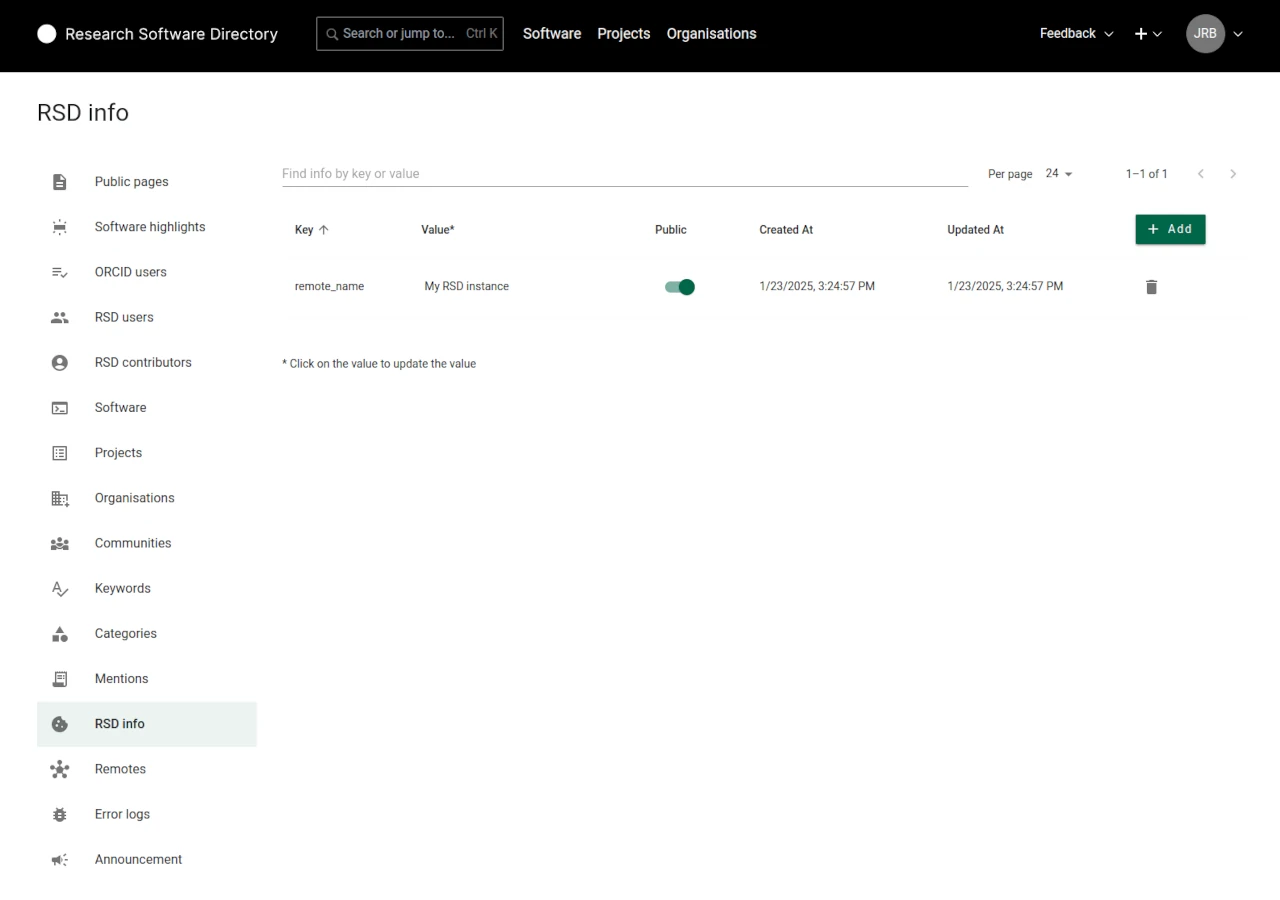
RSD info
Here you can define information about your RSD instance that you want to communicate to other RSD instances or other "third party services". The information is available at the endpoint /api/v1/rsd_info
The core RSD service uses the following information from this section:
remote_name: This is the name of your RSD instance. It is used by other RSD instances to identify software from your RSD. It is also used by your RSD instance when you make use of Remotes.
Remotes
Here you can connect your RSD to remote RSD instances. These connections will be used to "enrich" your RSD instance with additional (remote) software entries.
When connecting to remote RSD instances, each software card in the software overview shows the source RSD. The software from your "local" RSD uses the remote_name property defined in the RSD Info section.
For each remote RSD you wish to connect to, you need to provide the URL to the homepage of that RSD instance. If the RSD remote is of version 3 or higher the instance will return an RSD instance name suggested by the instance owner. For the earlier RSD versions, you need to provide a remote name/label manually.
For clarity, it is advised to use suggested RSD instance name configured by the instance owner. This ensures instance names across the RSD network remain the same.
Error logs
This section shows any errors originating from the background processes like data scrapers. Provided information should be understandable to rsd administrators in the most cases. The error object contains error response. The stacktrace is convenient for the programmers. The link will navigate you to the software or the project that triggers the error.

Announcement
This section is used to show public announcements to all users of the RSD. It is generally meant to announce the RSD maintenance moment.
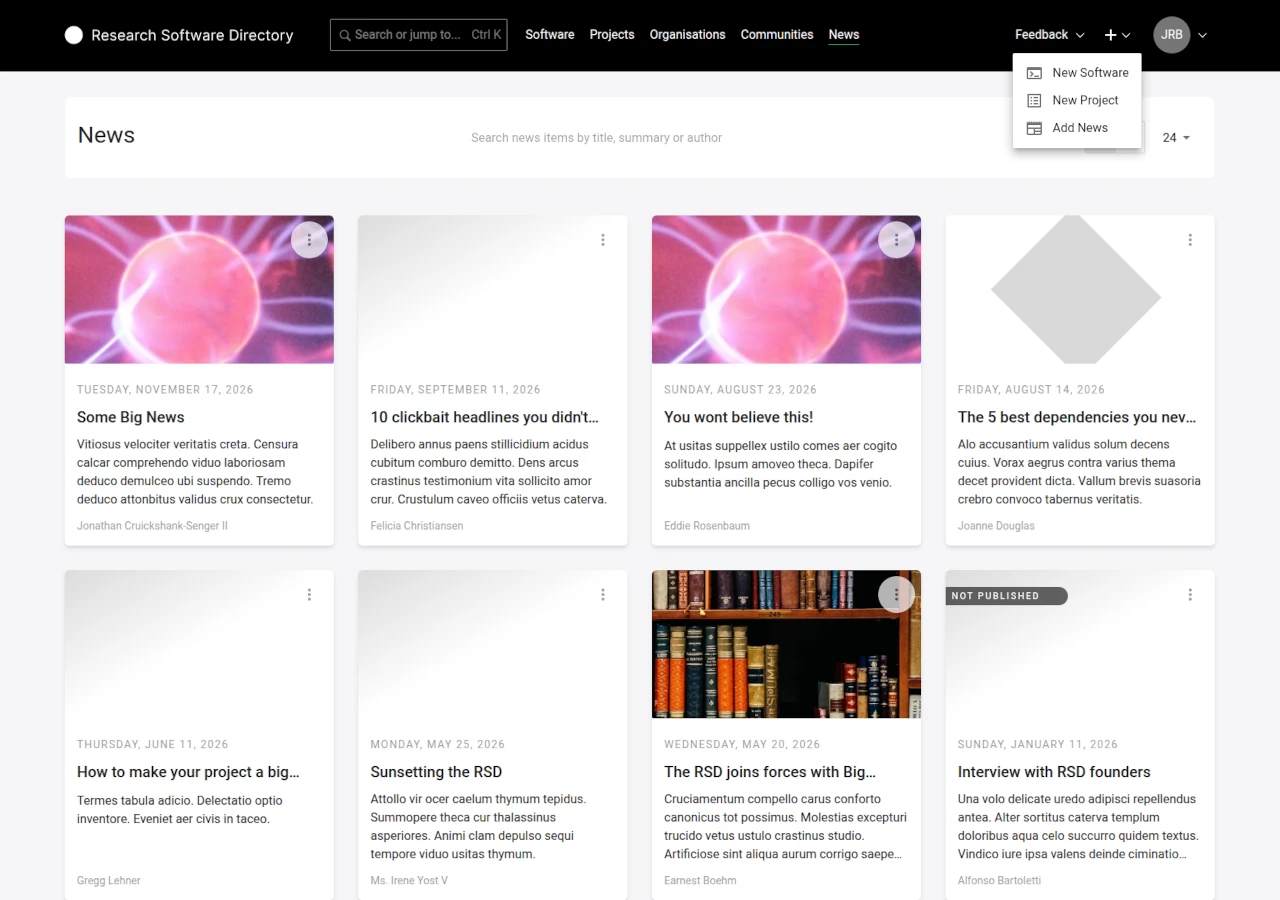
News
RSD administrators are able to create news items. The additional option "Add news" will appear in the "+" menu at the top right of the page header.
News section is a separate module defined in the settings.json. When enabled, the News will be shown on the homepage, and if defined in settings, the main menu entry will appear.
Add news item
Using the "Add news" option in the "+" menu will open add news item page where you can provide the publication date and title.
- The news item URL (slug) is generated using publication date and title.
- In case the slug is already taken the warning will appear below the URL. You can manually change the URL part created from the title or change the publication date if possible.
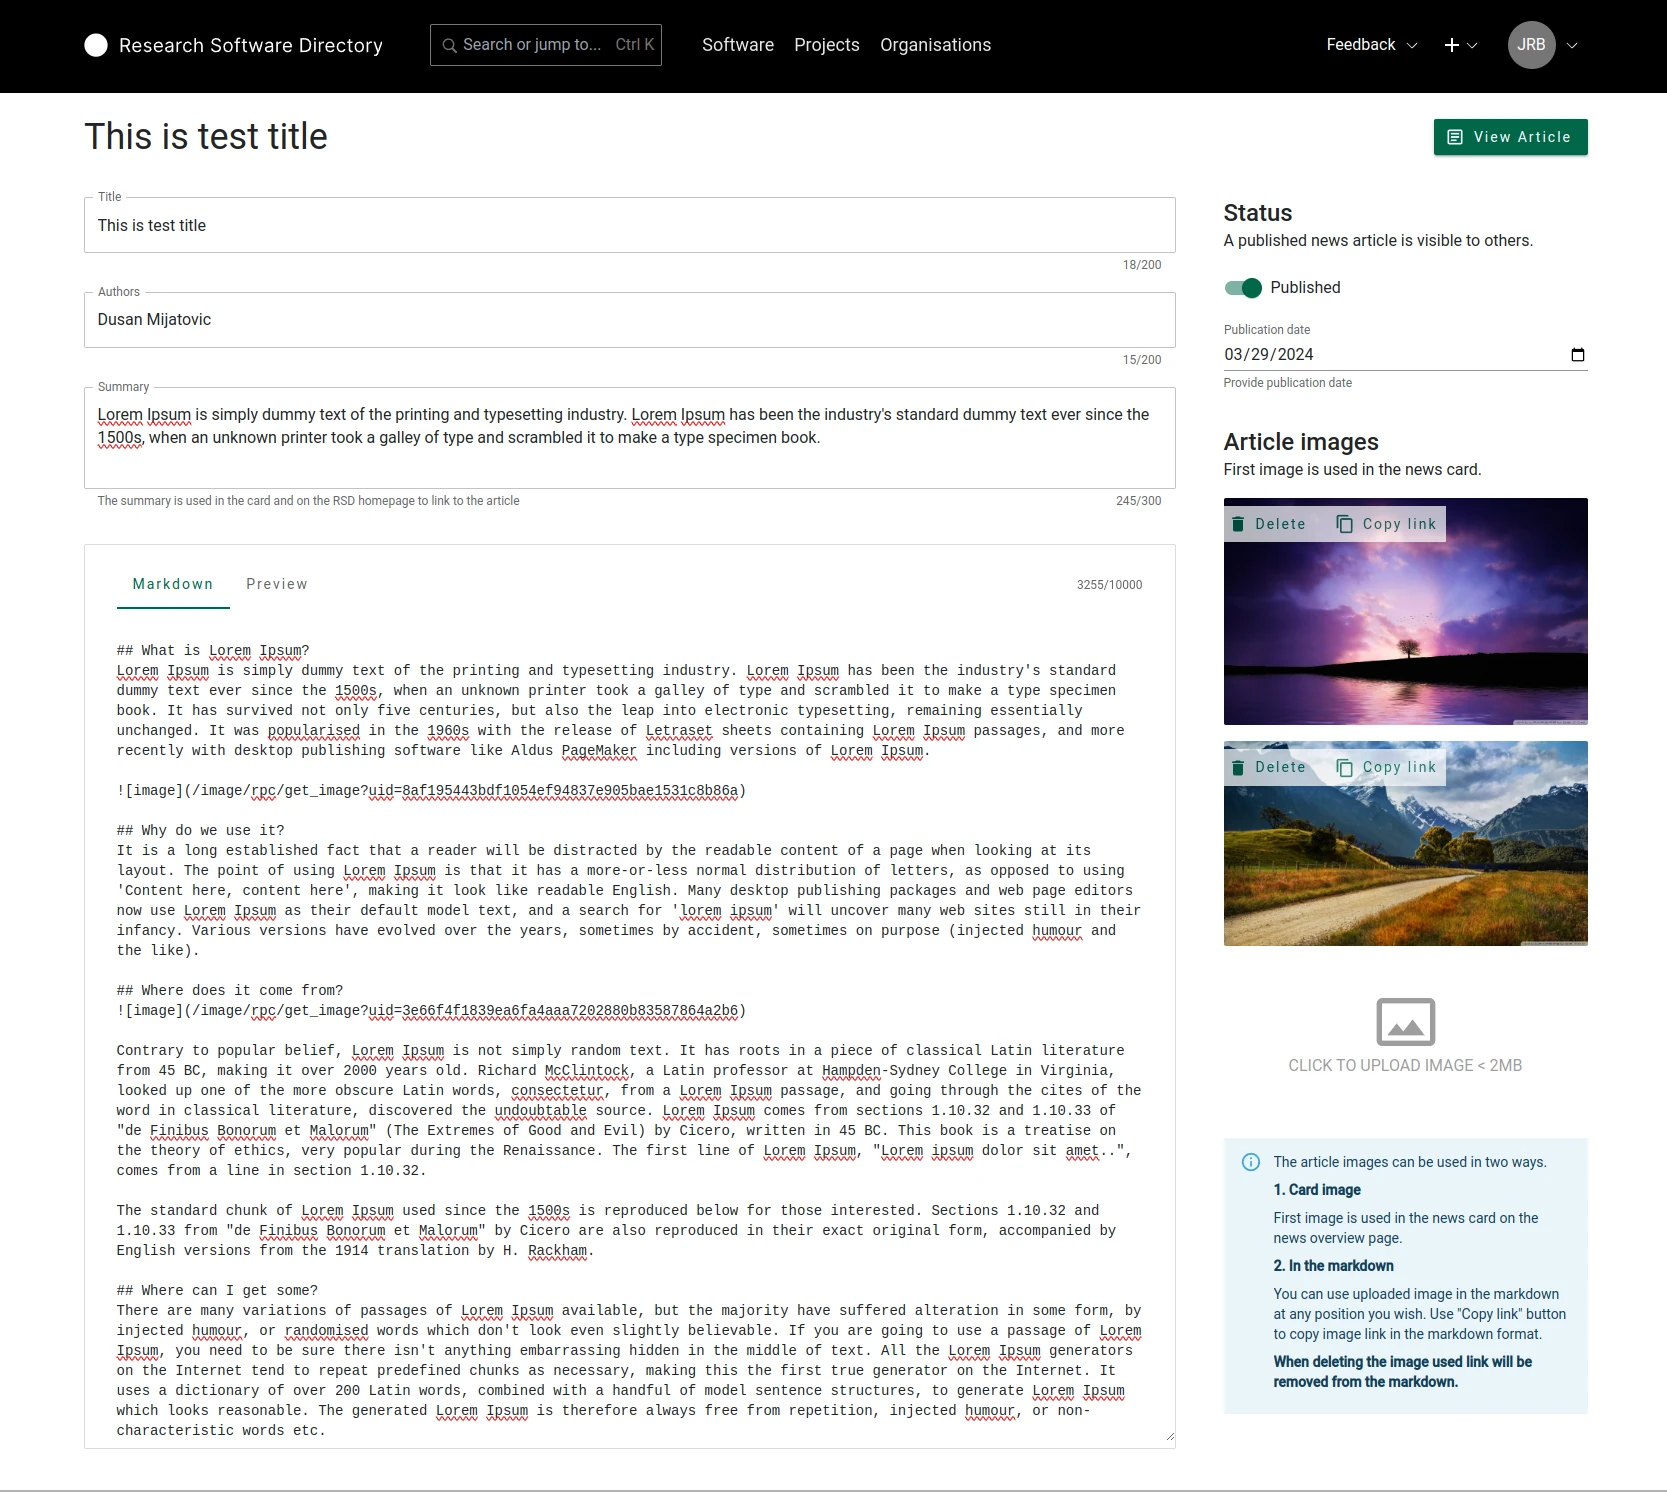
Edit news item
After news item is created you will be redirected to edit news item page. Here you can add the summary and the body of the news item. You can import the images you want to use in the news article. When you are satisfied with the news item content use switch "Published" to publish the article.
- Summary is used in the latest news section of the homepage and in the news card on the news overview.
- Publication date is shown in the header of the news title. It can be changed at any time. Note that changing the publication title also changes public URL of the news item.
- First uploaded image is used in the news card.
- Using "Copy link" button you can copy the Markdown syntax to the clipboard and the paste the link at the desired location of the body.
- Using "Delete" button will delete the image and the Markdown link syntax from the news body.
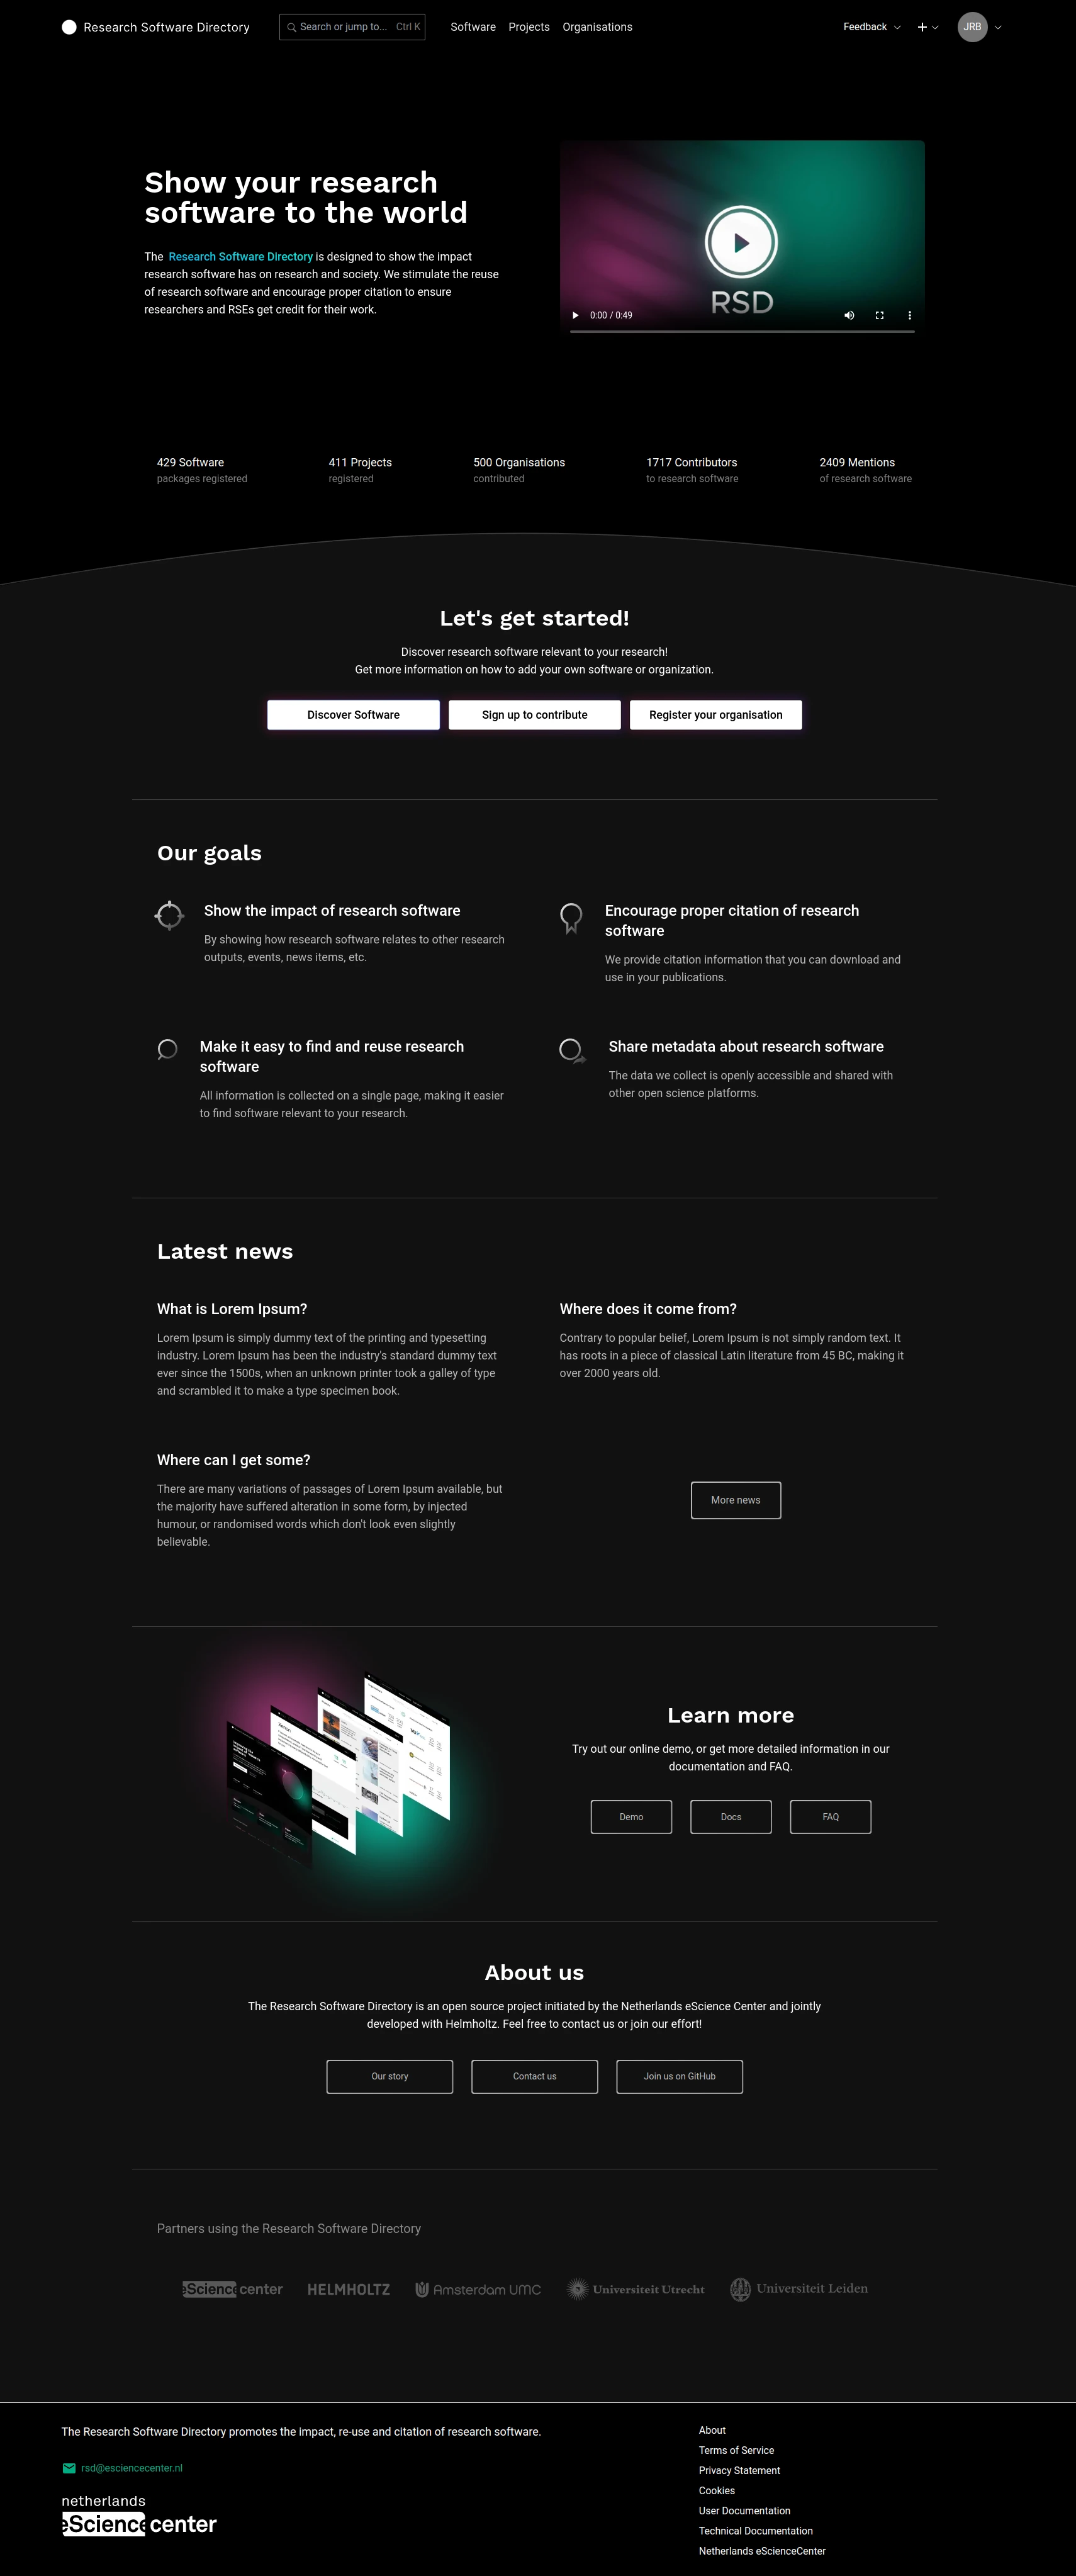
Latest news
The latest news selection is shown on the homepage after "Our Goals" section. It consists of the 3 most recent items, based on the publication date, and "More news" button that links to the news overview page.
If there are no published news items the "Latest news" section is omitted from the homepage.